Setting Up
Once you have set up your storefront monorepo, you’re ready to set up a Checkout extensions project. To start, let’s add the VTEX Checkout-related modules to your monorepo:
yarn add @vtex/checkout -D -Wnpm add @vtex/checkout -DCreating a project
Once installed, let’s create a Checkout project in your monorepo. For this, you need the following information:
- The store account name for which you are creating extensions
- The module you want to initialize a project (in this case,
checkout) - The path where you’d like to initialize the project
Run the following command in your terminal:
yarn fsp createnpx fsp createFor this example, we’ll utilize the account store-a and the path ./store-a/checkout. Fill in the information based on your project requirements:
> ? What's the account name? store-a> ? Which module do you want to initialize? checkout> ? What should be the path to initialize checkout? ./store-a/checkoutOnce the create command is executed, you should see the folder created at the root of your monorepo, according to the path provided to the CLI. The project has the following structure:
Directorystore-a/
Directorycheckout/
Directorysrc/
- index.tsx
- HelloWorld.tsx
- hello-world.css
- package.json
- …
We’ll cover the structure of the Checkout extensions project later.
Updating or creating your monorepo config
Considering that FastStore aims to be compatible with any monorepo tool, whether it’s a simple workspace setup with npm or yarn, or more advanced tools like Turbo or Nx, you should keep in mind that monorepo and workspace configurations are managed by you.
With that said, for each project created, or whenever you create and/or modify your workspace configuration—for example,
if using yarn or npm—you must update the workspaces field in the root package.json.
If we were using yarn, our package.json would have the following configuration based on the setup we completed:
{ "workspaces": [ "store-a/checkout" ]}After completing the configurations, you should run an install again at the root using your package manager:
yarn installnpm installConnecting your Checkout to your Store’s Discovery
If you have Discovery running locally, you can connect Checkout locally to integrate it into your development environment. This will allow the same Checkout that renders the extensions you’re creating to work with Discovery, which will serve as a way to add products to the cart and view the full end-to-end flow.
To set this up, you’ll need to modify the checkoutUrl entry in the store’s discovery.config.js (formerly faststore.config.js) file:
{ ... storeUrl: "https://vtexfaststore.com", secureSubdomain: "https://secure.vtexfaststore.com", checkoutUrl: process.env.NODE_ENV === 'development' ? "http://localhost:3000/checkout/cart": "https://secure.vtexfaststore.com/checkout/cart", loginUrl: "https://secure.vtexfaststore.com/api/io/login", ...}What we’re essentially doing here is pointing the checkoutUrl of Discovery to the Checkout that we’re running locally in our development environment.
Previewing Extensions in Development Mode
Once the dependencies are installed, you can start your storefront development environment using the CLI:
yarn fsp dev store-anpx fsp dev store-aThe Checkout is accessible at the /checkout/cart path on the URL provided by the FastStore CLI.
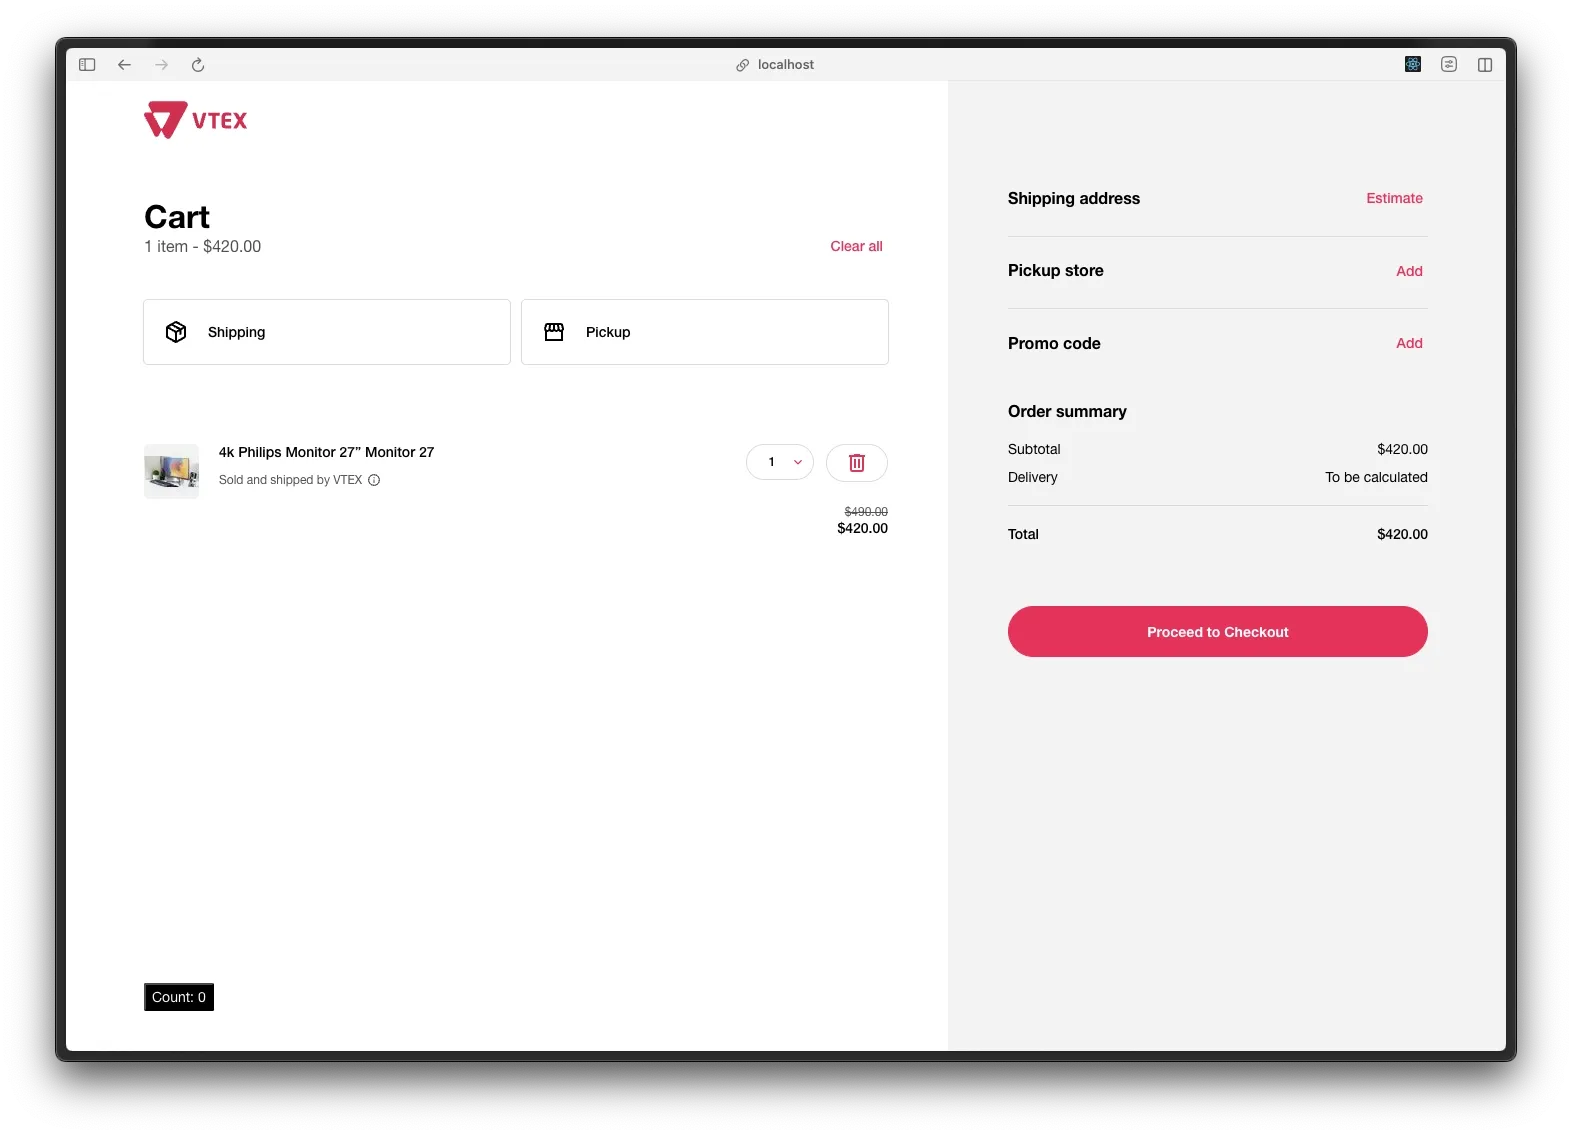
To navigate to Checkout, open your store’s homepage, add some products to the cart, and proceed to the cart. You should see a screen similar to this:
The Checkout can also be accessed directly using the local URL and port defined in the faststore.json file. To do this, look for the port in the store and project configuration you added. These details were added when you ran the yarn fsp create command:
{ "store-a": { "checkout": { "path": "./store-a/checkout", "port": 3002 } }}Based on the file above, you can then access the Checkout directly at the URL localhost:3002/checkout/cart